


A STOWABLE LUND STOOL

One of the things I’m cognizant of is the finite stowable capacity of my vehicle. If I have a full load in the back, it’s nearly impossible to see out the rearview mirror. As a reenactor, I seem to accumulate multiple items that are difficult to break down for storage and transport. I’ve touched on this on the Oseberg Chair page on the website, where I built a chair that stores flat. Now, I will attempt to build a Viking Lund stool that stores flat.
 Examining photographs and actual replicas of the Lund stool provided me with worthwhile information. The most important of which is that the leg holes and legs, themselves were tapered on the ends. Ultimately, my stool would deviate from that in form, as I chose to use 1.75″ dowels for the legs with no taper, and the holes would not actually pierce the seat of the chair. I actually came up with a number of other scenarios, mostly revolving around using pins or dowels in the legs (see drawing #1). These would prove to be successful in the prototype model I built, but I didn’t like to have to keep track of errant dowels. Or worse, having the dowel pins become loose or fall out, with the end result of the legs sliding through the chair seat.
 The “historical” design would be capable of being built by a Viking craftsman, with chiseled out partial holes and a “press fit” on the legs and my “modern” design would have invisible metal hardware allowing for assembly and teardown, as required.So, my intention here is to delineate my attempt to build a Lund stool that stores flat, as well, but still looks as if it were assembled by an individual in the Viking age.
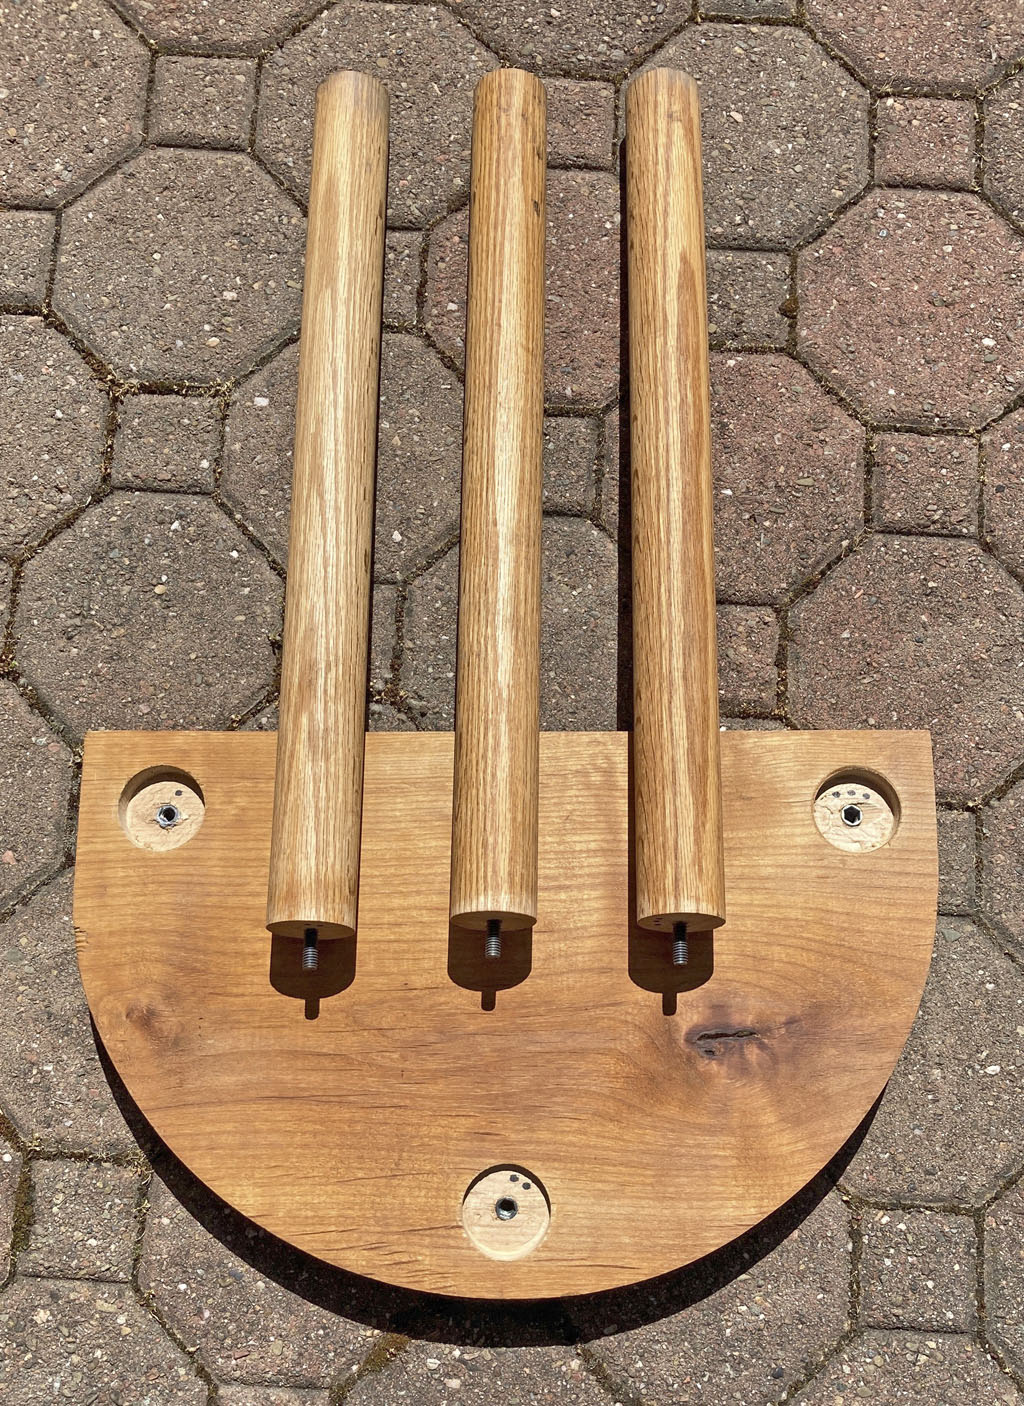
How it was made: A solution came to mind when I recalled making a table with screw-on legs. I would use threaded metal male screw inserts placed in the end of the legs and match them to threaded metal female inserts that I placed into countersunk areas that matched the diameter of the legs.
 Please read the entirety of this article before you begin cutting or drilling, as it does jump about a bit and it would not hurt to take separate notes. I’m not responsible if something goes awry…I got lucky, as this worked for me and I am by no means a professional woodworker. Before you start drilling, it’s important to establish your drilled hole sizes by measuring the hardware you’ll have to place in the wood. In my case, I used 5/16 in.-18 x 2 in. stainless hanger bolts and the appropriate sized threaded wood inserts.
I started with a plank of alder that was 18″ wide by 12″ deep and 1.75″ in height. I ripped a half inch from the edge, bringing it down to 11.5″. I then marked the centerline at 9″ and drew another line at a right angle from the edge. Wanting a little more “tush” area, I drew another line parallel to the edge at 1.75″. I placed a compass on the intersection of those two lines and drew an arc, giving me a half circle. Using my jigsaw, I cut the half round out. I sanded the cut area smooth and chamfered all the edges, so they would not bite into an individual’s legs when sitting for a long period of time.
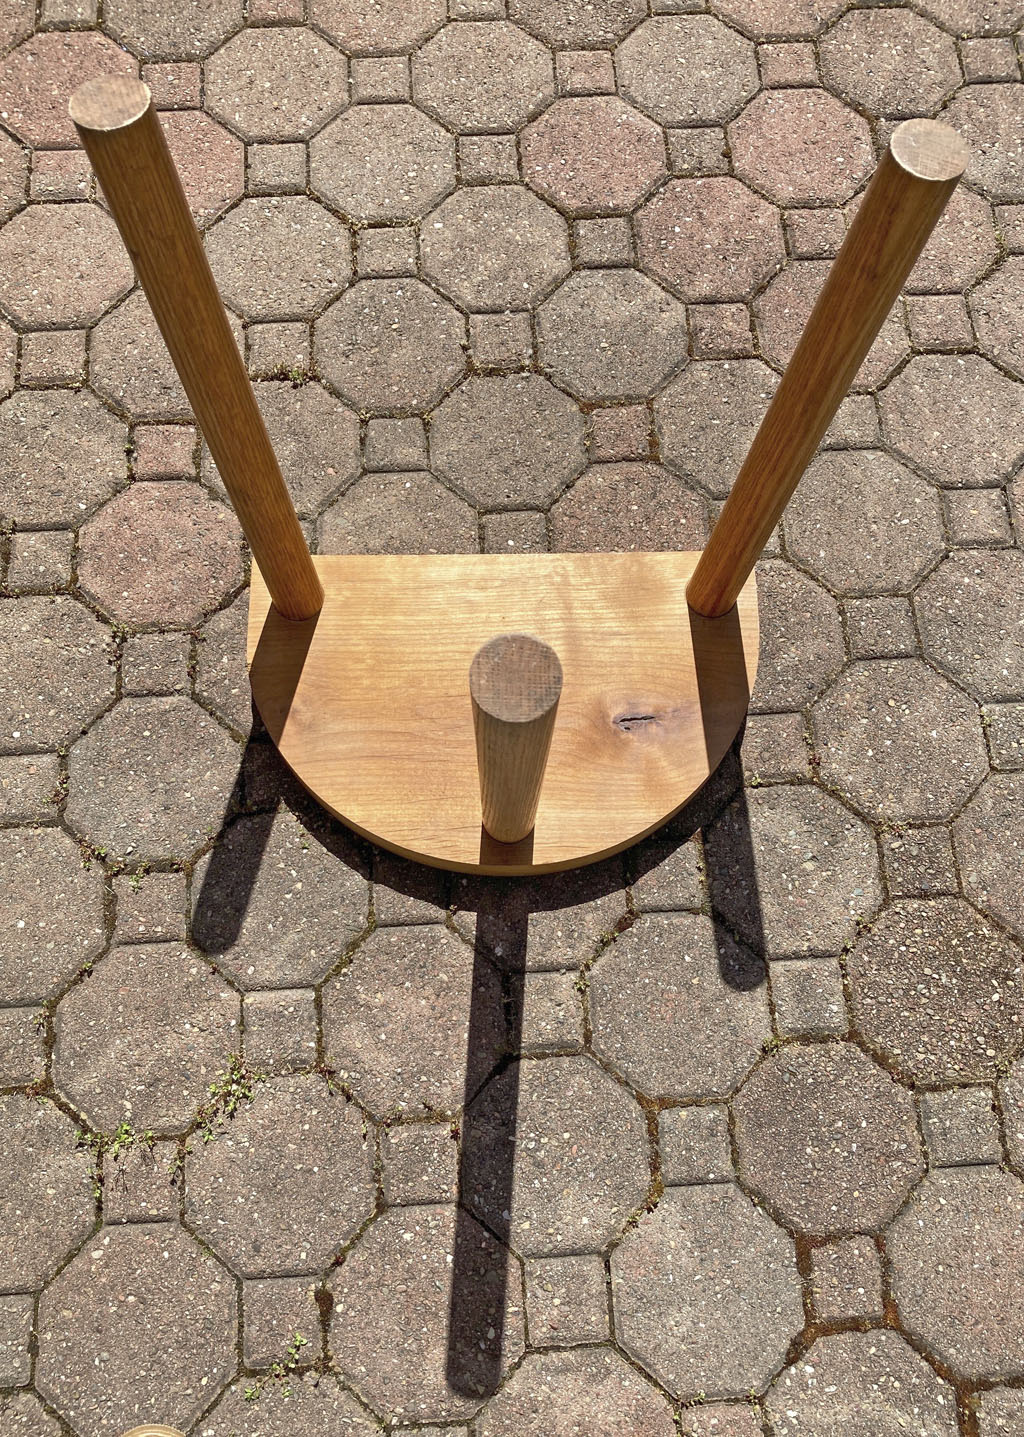
 I then measured 1.75″ from the corners on the flat edges and center point on the curved edge and established a cross were I drilled the countersunk areas at 15° angle from vertical to splay the legs for a more firm footprint and avoid breaking the upper surface of the seat. I used a hole saw with a 1.75″ diameter and drilled down at a 15° angle 0.5″ and then chiseled the area flat. This would hide the top of the dowels and give them a bit of side support. The net result of this is that the seat would be completely free of any holes.
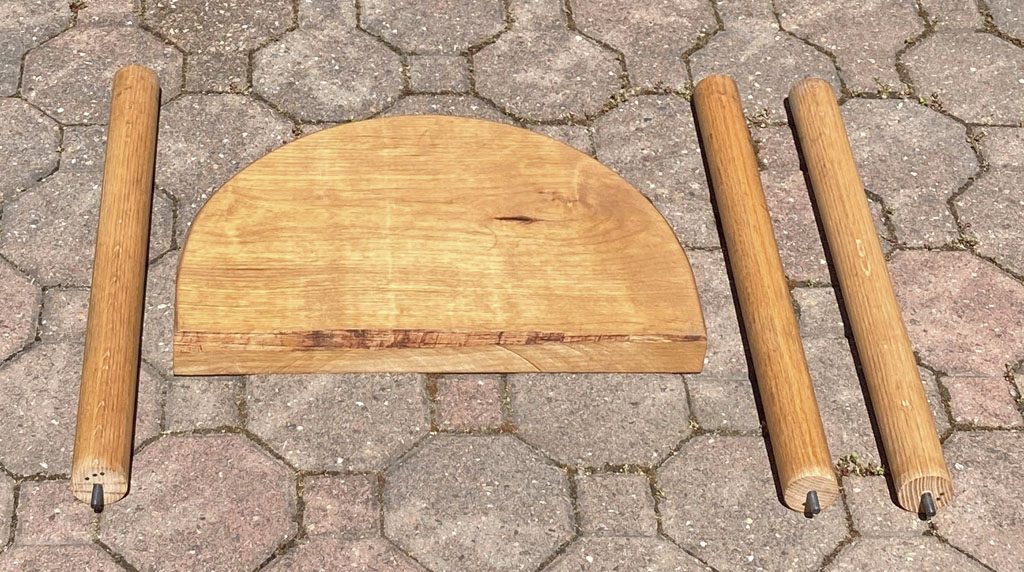
Next, I cut three equal lengths off of a 1 3/4″ pole that were 20″ long. Once they were placed in the base, the total height would be 21.5″, as I am a bit taller than most of my peers.
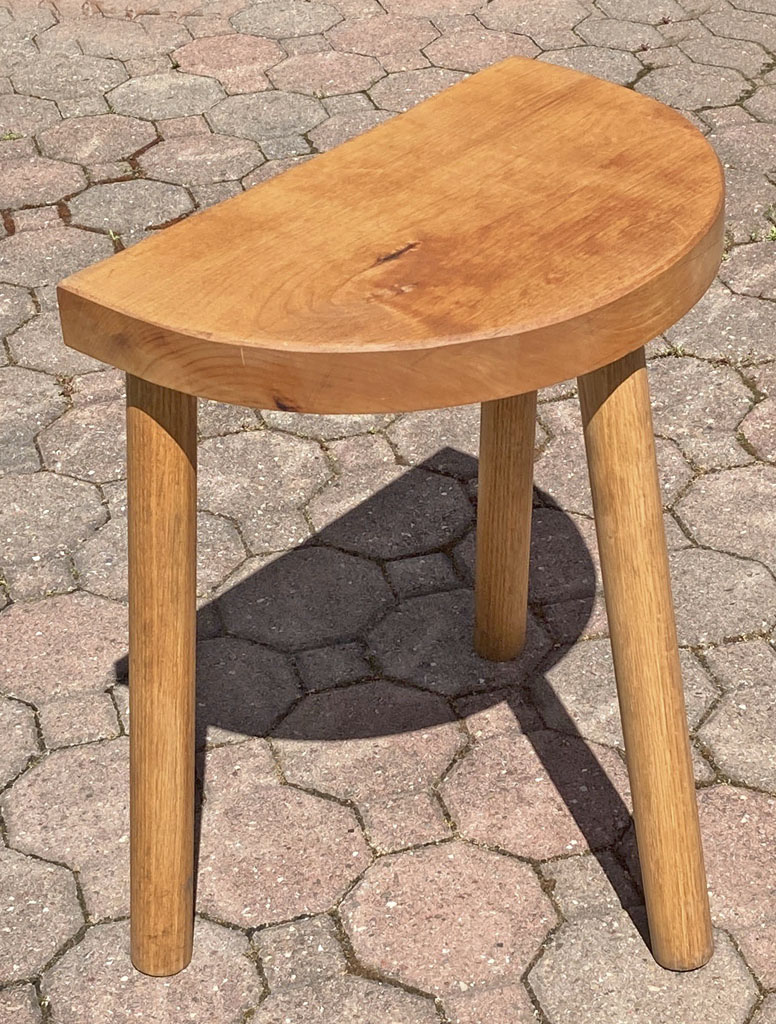
Finally, to finish off the stool, I sanded all the parts and used two coats of linseed oil, letting the first dry fully, before the next application. Take your time with this, and you’ll have a really nice looking piece of camp furniture. I have the stool stored in a black cloth bag, which I can quickly grab and throw in the car. It lays flat and is easy to transport.
Afterthoughts: Down the road, I will make an additional set of legs at a shorter height, so that I can use the stool with my stump anvil and sit comfortably while I work. So…one stool, some extra parts and I’m good to go!